


Deploying Hasura GraphQL engine on Nhost
One-click deploy on Nhost
Note
Make sure to create an Nhost account first. Nhost offers a 30-day trial with its starter plan.
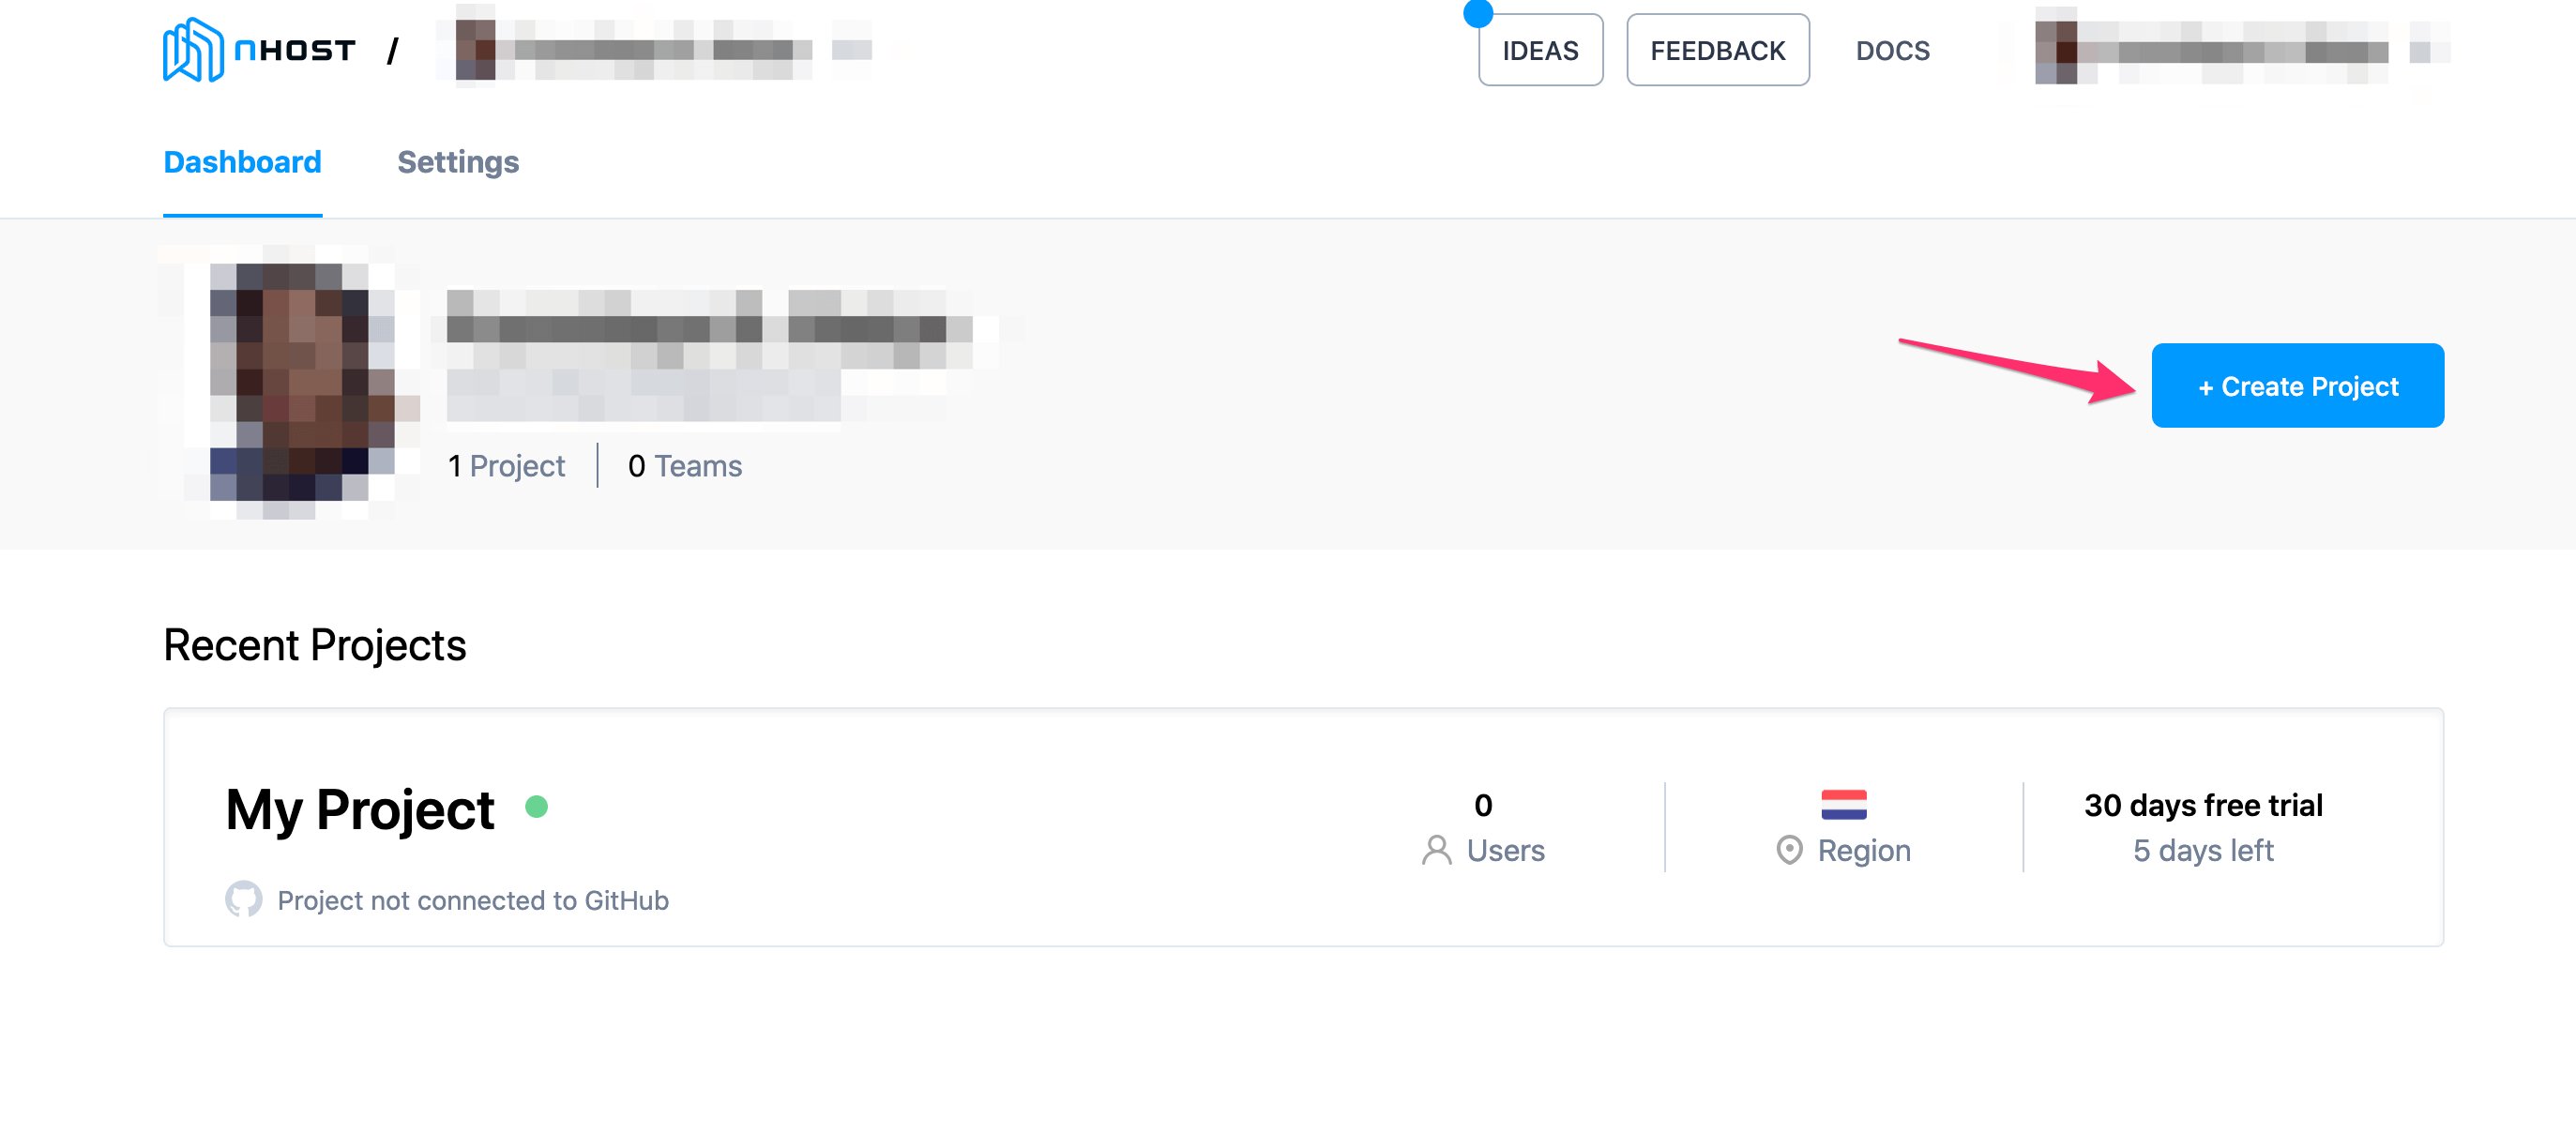
Once you’re logged into your Nhost account, click the create project button below to configure your project.
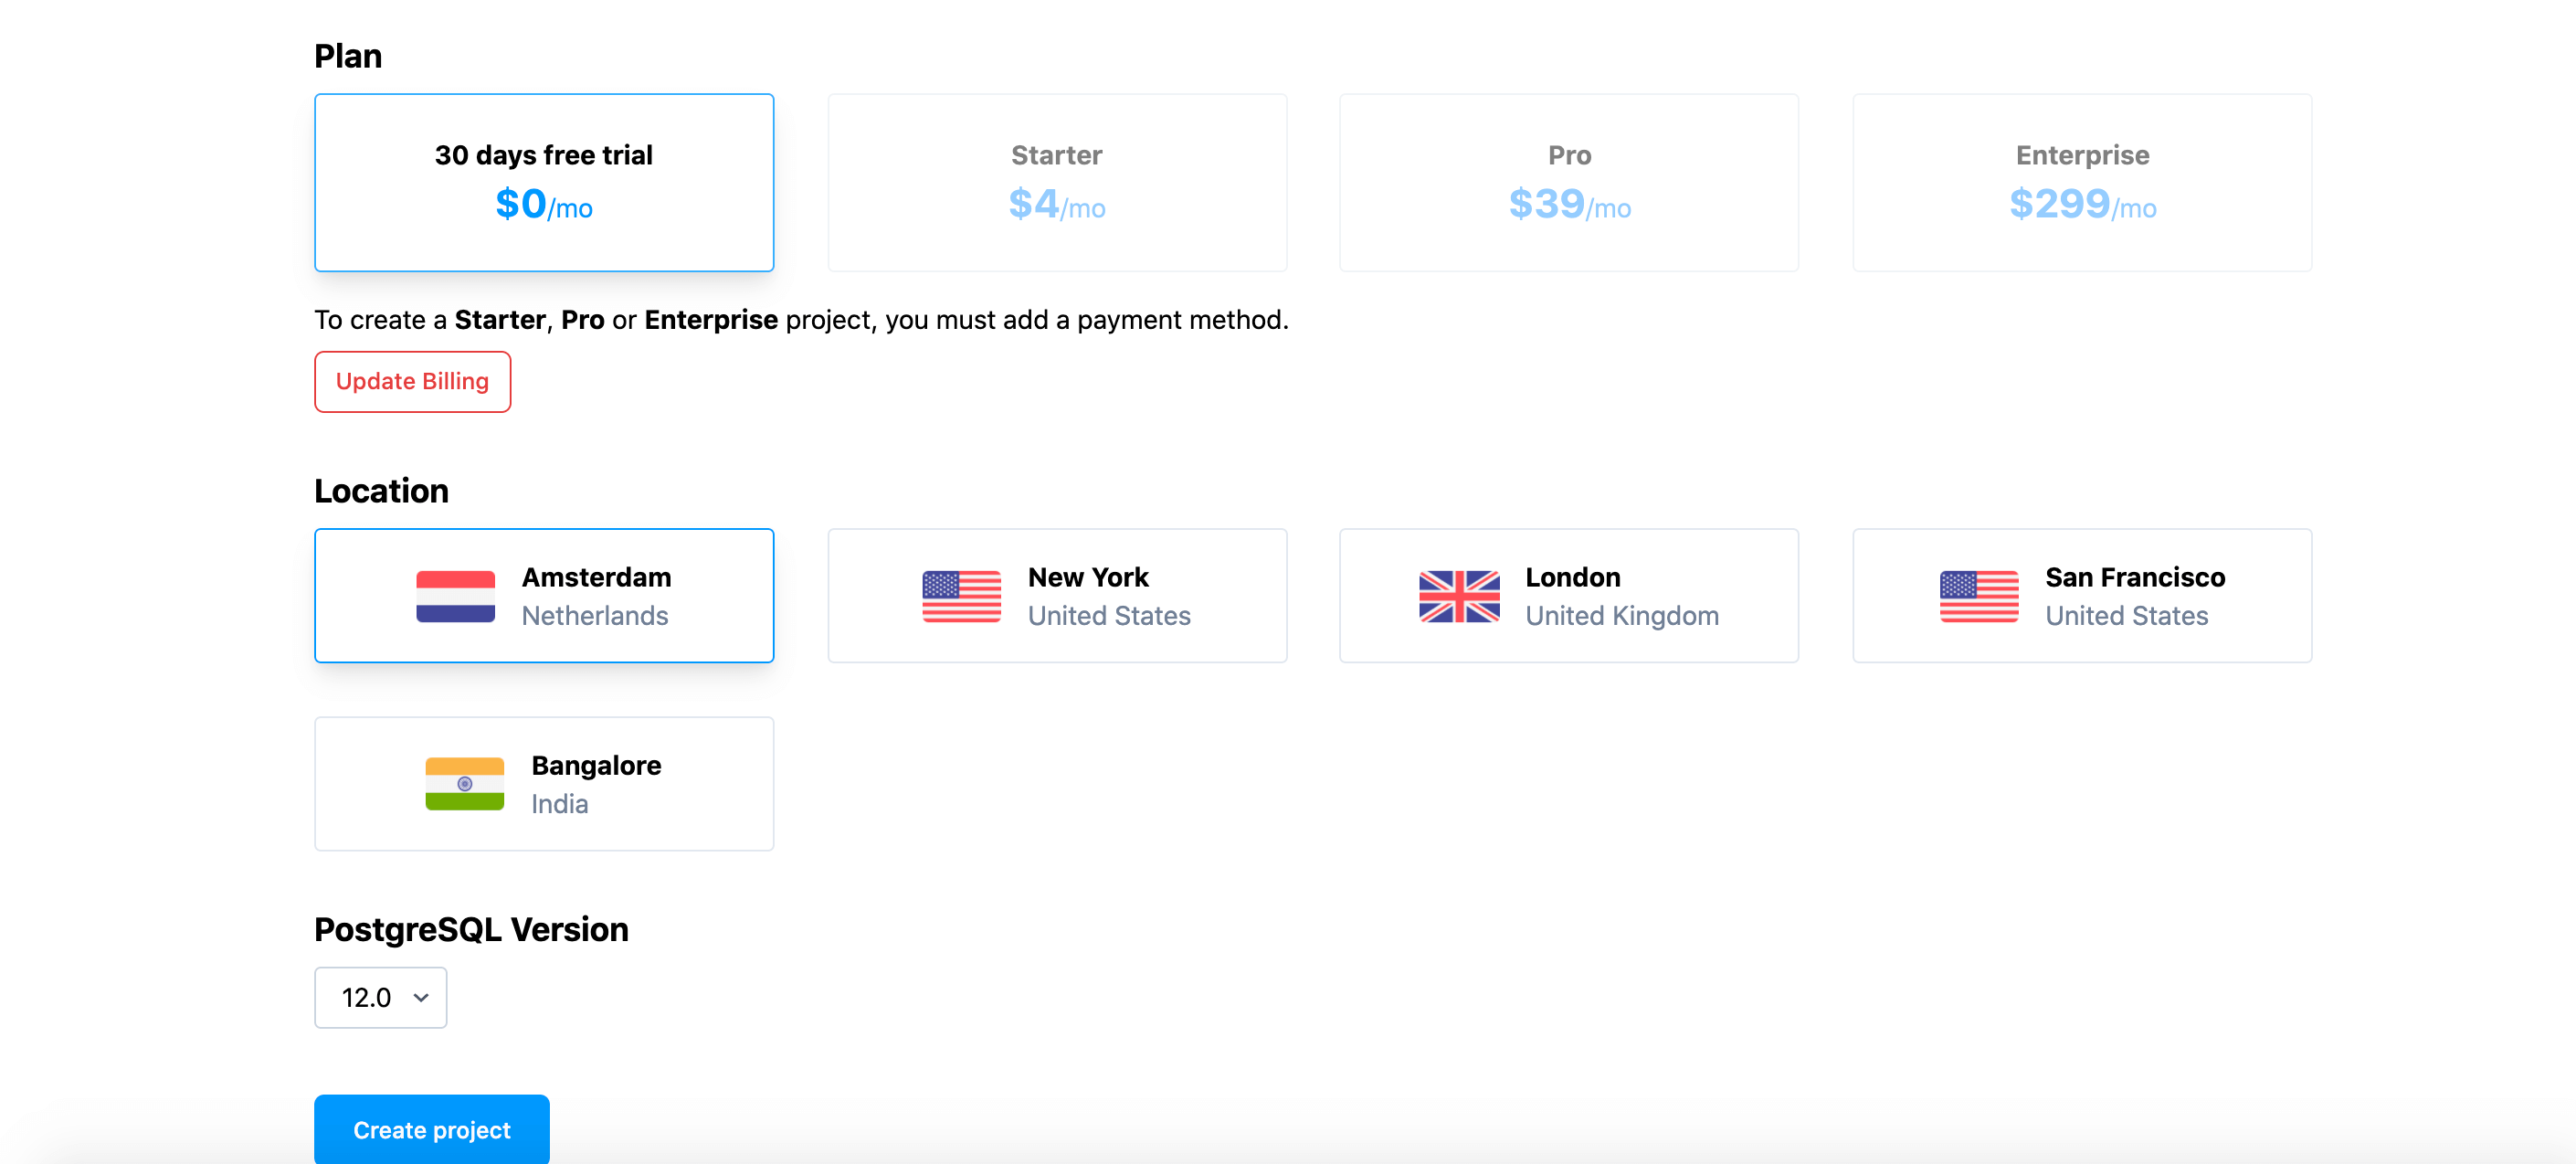
On the following page you can choose a plan and a location for your project:
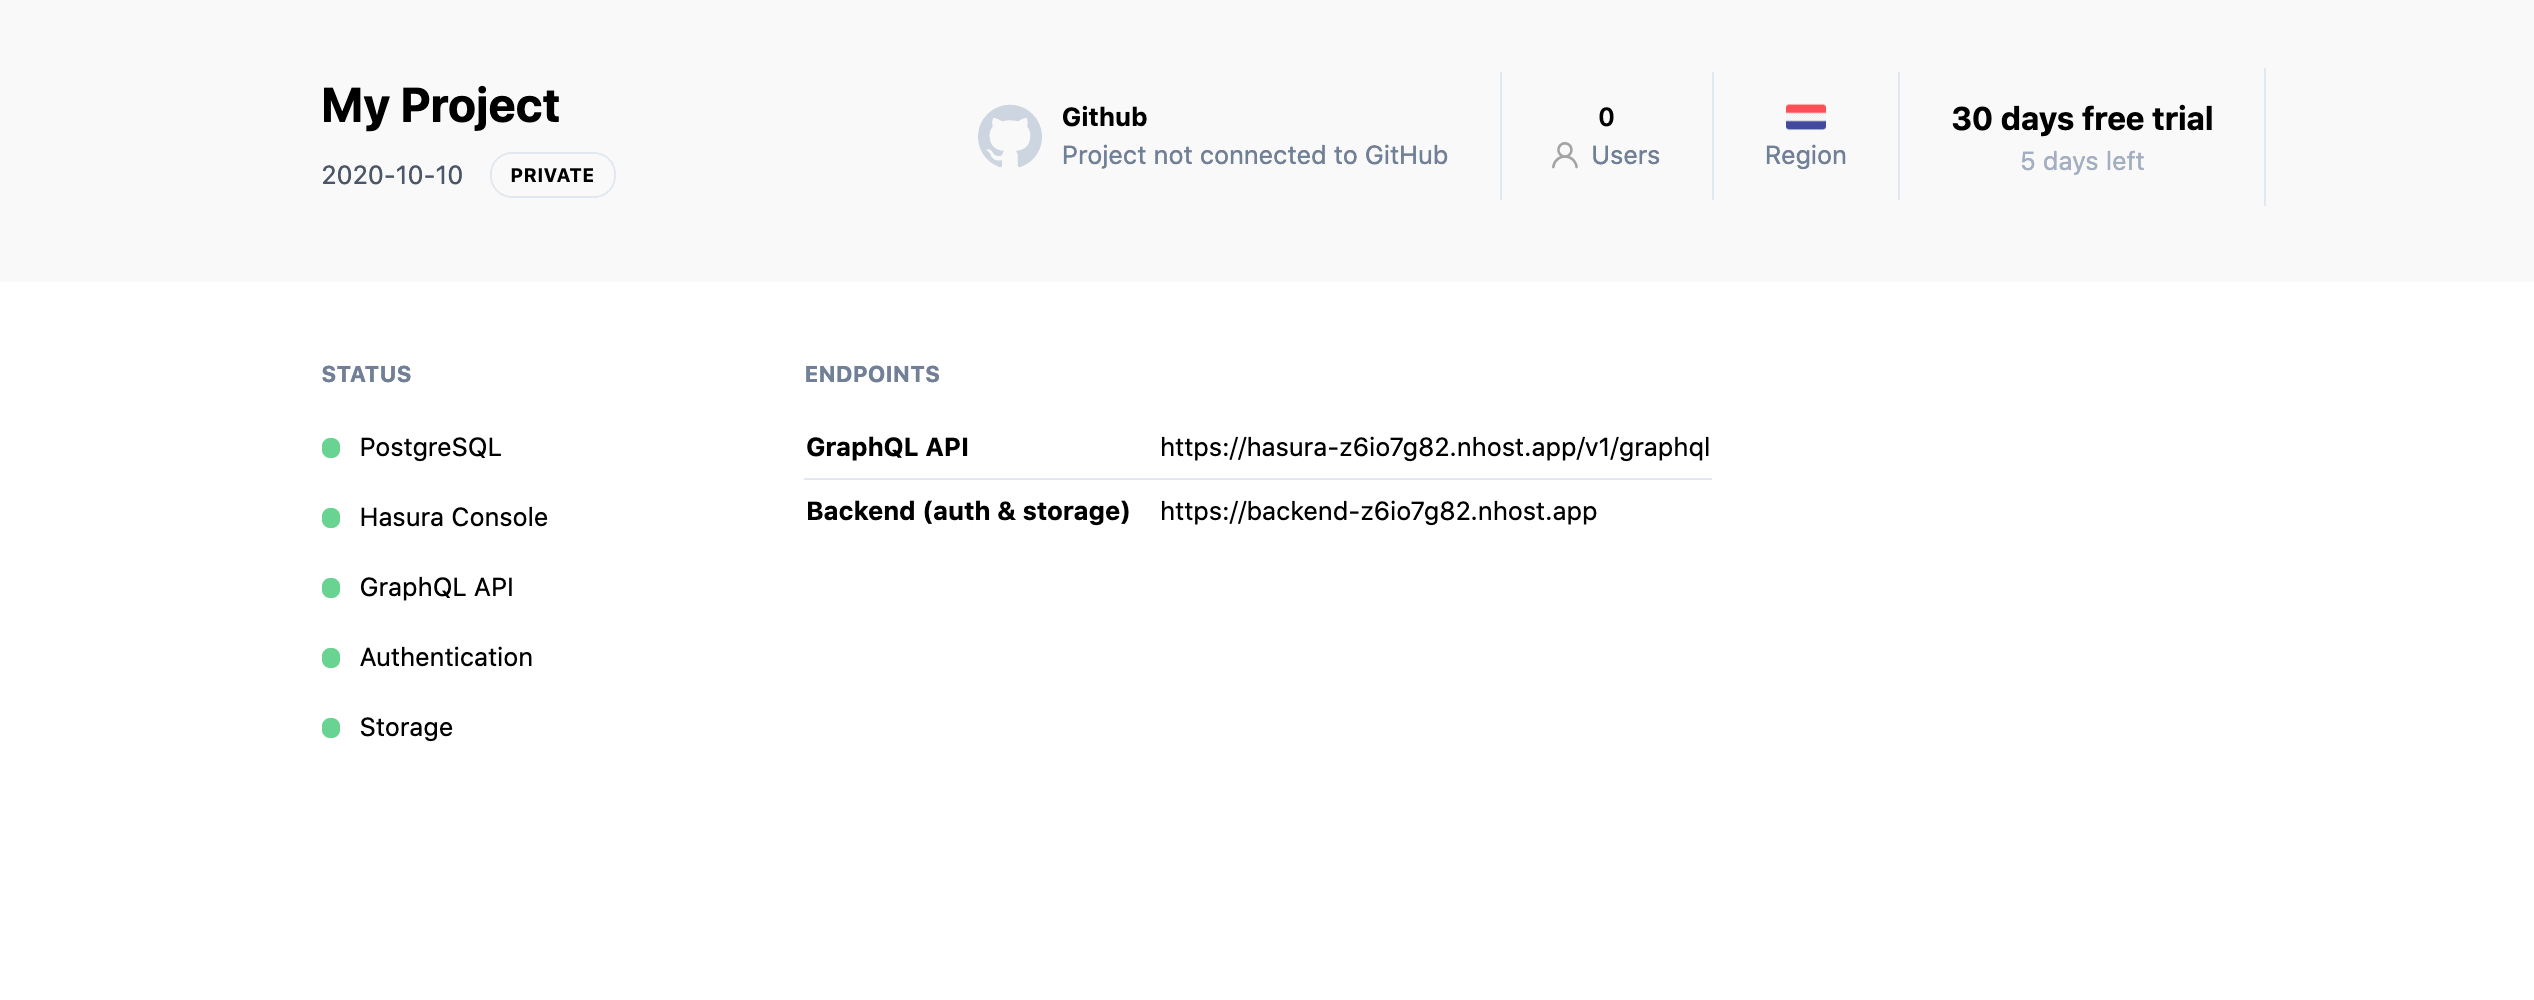
The creation and provisioning of your backend should be ready in roughly 30 seconds. Your project has now a GraphQL API, a PostgreSQL database, user management, and storage for your files!
Access your Hasura console
Once your Nhost project is up and running, the Overview page will give information about the endpoints.
Click on the Hasura tab in the navigation to open the dashboard. Then click on the Open Hasura Console button
to open the Hasura console.

To test it, you can either create tables directly using the console, or add new users to your project clicking on Auth on the navigation menu.
There is also a GraphQL API option for you to test the API.
 Thank you for subscribing to our newsletter!